
Seed Starting - How to Successfully Start Plants from Seed
From Marie Iannotti, Your Guide to Gardening.
Seed Starting: Supplies - What You'll Need
Here are the basics of what you'll need to get your garden seeds started:
- Containers - Either purchased pots or flats or containers you've saved, like egg cartons and yogurt cups. Used pots should be cleaned and disinfected by soaking in 1 part bleach to 10 parts water.
- Potting Mix - Seeds do best in a soilless mix where there are fewer inherent problems than with garden soil
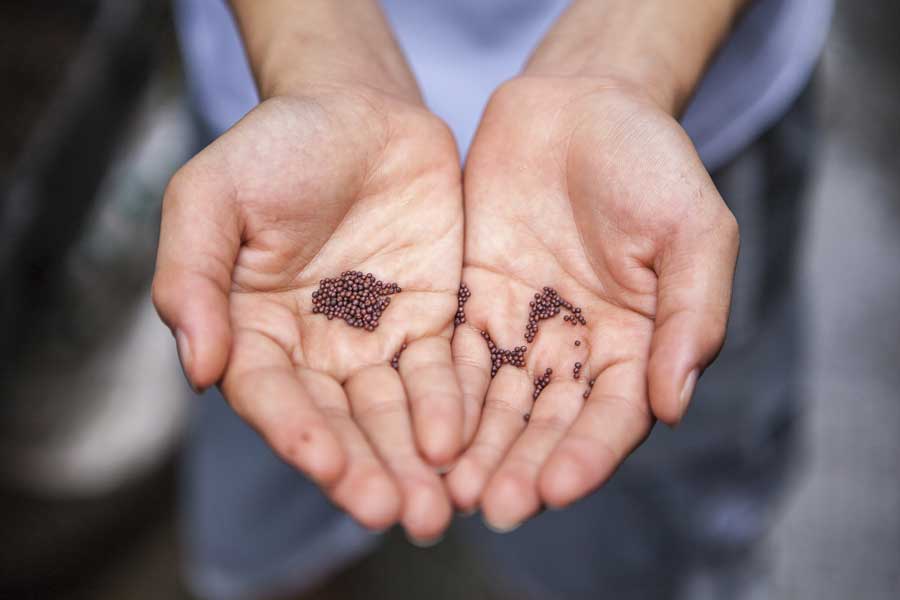
- Seeds - Your choice
- Labels/markers - Trust me, you won't remember what's what
- Plastic Bags or Covers - These will trap warmth and humidity where the seeds need it
- Water
- Light Source - If you don't have a bright window, you will need some kind of fluorescent or high-density plant light
Supplies you'll need to start seeds.
Seed Starting: Preparing the Potting Mix
Loosen and dampen the potting mix before you put it into your seed starting containers. It is easier to get a uniform level of moisture if you do it this way.
Dampen the mix to the consistency of a wrung-out sponge. It should be wet, but not dripping, with no dry lumps.
Make sure the potting mix is not lumpy.
Seed Starting: Filling the Containers
* Use the pre-dampened potting mix to fill your seed starting containers.
* Don't pack the potting mix into the container.
* Fill about 2/3s full and tap the container on the table top, to help the potting mix settle.
* Gently firm with your hand or a small board.
Firm the potting mix by gently tapping t
Seed Starting: Planting the Seeds
Start Planting: Once you have your containers prepared, you can begin planting the seeds.
* Make sure you read the seed package for special instructions. Some seeds may require a period of pre-chilling or soaking.
* Small seeds can be sprinkled on top of the potting mix. Larger seeds can be counted out and planted individually.
* Use at least 3 seeds per container, since not all seeds will germinate and not all that do germinate will survive. You can thin extras later.
Sprinkle the seeds on the potting mix
Seed Starting: Finish Planting
Finishing Touches
o Cover the seeds with more dampened potting mix and then gently firm again.
o Re-check your seed packet for information on how much potting mix should go on top of the seeds. Generally, the smaller the seed, the less you need to cover them.
o There are a few seeds, like lettuce, that require light to germinate and should barely be covered with potting mix.
Add just enough soil to cover the seeds.
Seed Starting: Watering Newly Planted Seeds
And Water Again:
Although the potting mix was pre-dampened, it is still a good idea to sprinkle some additional water on top of the newly planted seed. This ensures that the top layer of mix won't dry out and it also helps to firm the potting mix and ensure good contact between the seed the mix.
Sprinkle water on top of the potting mix
Seed Starting: Creating the Right Atmosphere for Your Seeds
Greenhouse Effect: Your seeds are now ready to be covered loosely with some type of plastic. This will help hold in both heat and moisture. You can place the whole container into a plastic bag or simply lay a sheet of plastic over the container. If you have special seed starting trays with plastic covers, use those.
Heat: Move your container to a warm, draft-free spot and check it daily. Most seeds germinate best when the temperature is between 65 and 70 degrees F. The top of a refrigerator is an ideal spot or you could consider purchasing heating mats specially made for germinating the seed.
Heating mats go under the potting containers and heat the soil from below. You will usually need to water more frequently when using heating mats. Caution: Only used heating mats certified for seed starting use.
Light and Air: In general, seeds will not need light until they emerge. They will need air circulation under the plastic or you will be encouraging mold.
Signs of Life: Remove the plastic as soon as you see a seedling emerging and move the plant into indirect light. Be sure the potting mix stays moist, but not wet.
Cover the planter with plastic or insert
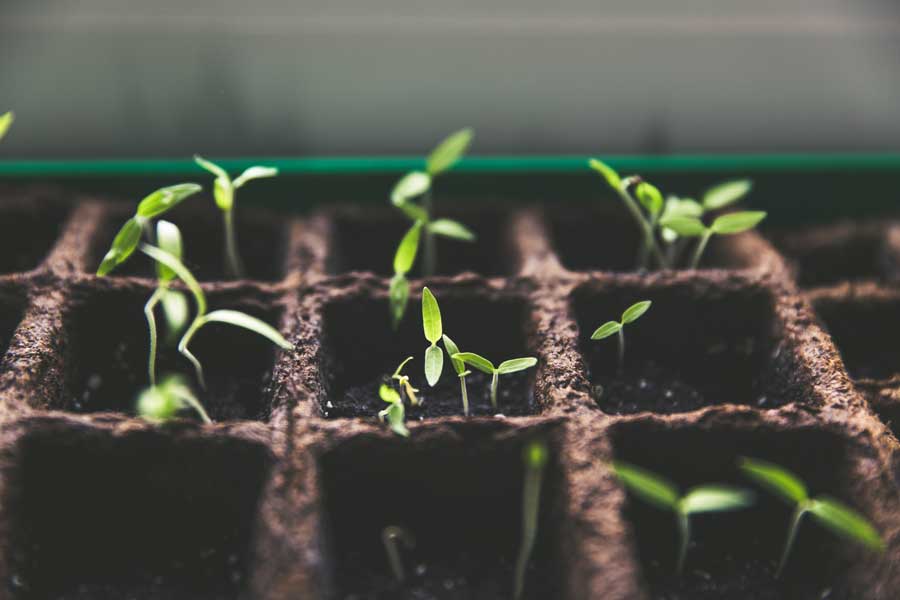
Seed Starting: Emerging Seedlings
First Signs of Growth: Once your seedlings begin poking through the soil, they will start to straighten up and unfurl. What looks like two leaves will appear. These are actually leaf-like structures, called cotyledons, that are part of the seed and serve as food sources until true leaves are formed and the plant is capable of photosynthesis. At this point, you should move your seedlings under a light source.
Move into the Light: Your seedlings will need between 12-18 hours of light each day. This may seem extreme, but artificial light and even the low rays of the winter sun are not as intense as the full summer sun. The best way to ensure regular long doses of light is to attach your fluorescent or high-intensity plant lights to an automatic timer.
The seedlings will emerge with two leaf
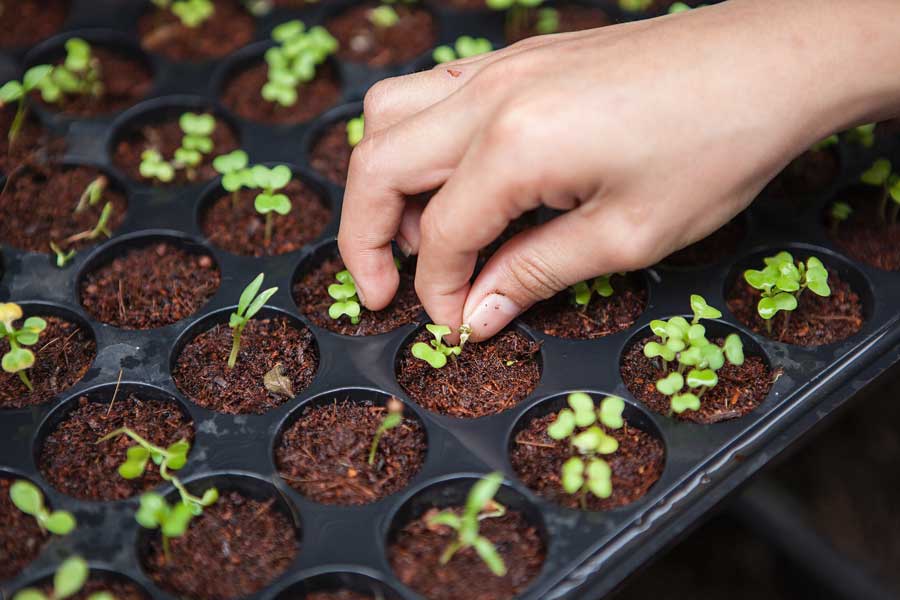
Seed Starting: True Leaves
True Leaves: As the seedling grows, the cotyledons will wither and what is called the first "true" leaves will form. This is when your seedling begins actively photosynthesizing. Since it is growing in a soilless mix, you will need to give it some supplemental feeding at this point. Use a balanced fertilizer or one high in nitrogen and potassium, to encourage good roots and healthy growth.
Potting up: Seedlings can remain in their original containers until you are ready to plant them in their permanent spots. However, it is common to move the seedlings into a larger pot once several sets of leaves have formed and the seedling is a couple of inches tall. This is called "potting up" and it allows the roots more room to develop. Three to four-inch pots are good sizes to pot up to, allowing plenty of room for root growth.
Thinning: If more than one seedling is growing in the same pot, either separate the seedlings into individual pots or cut off all but the strongest seedling. Don't try to pull out the extra seedlings, since this might hurt the roots of the seedling you are keeping.
First 'True' Leaves on a Tomato Seedling
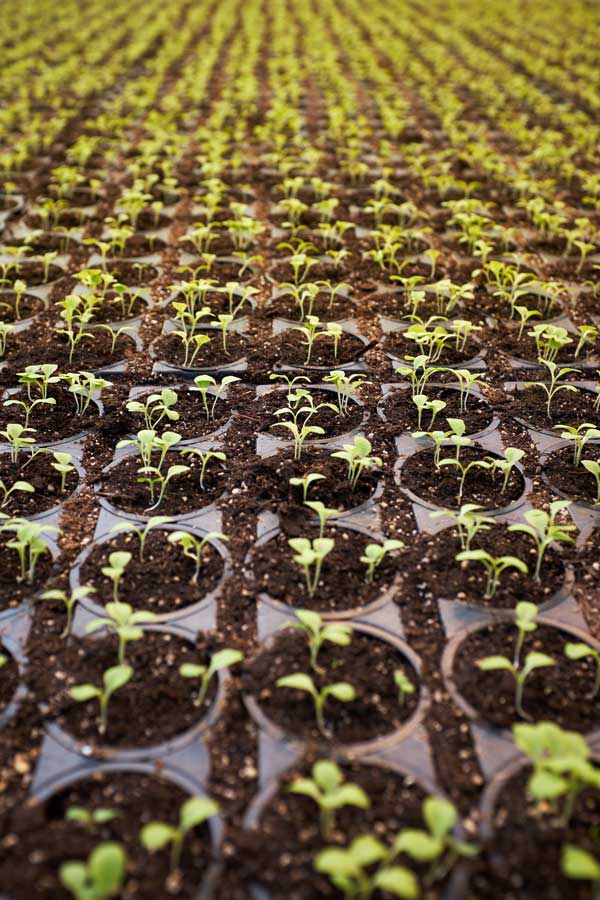
Seed Starting: Hardening Off
By the time the temperature warms outside, you should have stocky, healthy young plants. Before moving them out into the garden, take a week or two to gradually introduce them to their new growing conditions. This is called hardening off. It gives the plants a chance to acclimate to sunlight, drying winds and climate changes.
o Move the plants to a shady spot for increasing amounts of time, several days in a row.
o Bring them in or cover them if the temperature looks like it will dip.
o Gradually increase the amount of time they spend outside and the amount of sunlight they receive until you see that they are growing strong and appear ready to go out on their own.
o Water your seedlings well before and after transplanting and try not to transplant during the hottest, sunniest part of the day.
You might like this post about gardening by height. Let our experienced team assist you with your holiday decorating and create a custom look for your home and landscape.
Call Breezy Hill Nursery at 262-537-2111.
NOTE: Any of our sales associates here at Breezy Hill Nursery would be happy to answer your questions about planting and caring for your tree. Call us at (262) 537-2111.
Do you have Gardening questions? Please call or stop by our garden center.
You might also enjoy this post about common landscaping questions.
Comments are closed.